
Build a home inventory
If you ever need to file an insurance claim, a list of what you owned, with photos and values, makes it far easier. A Home Inventory collection holds one property: its details, its rooms and everything in them. You'll set up a house and add a kitchen's worth of appliances.
You'll need: the myStuf app, signed in. A few photos of your things help, but you can add them later. The inventory report is included in every plan.
-
Create a Home Inventory
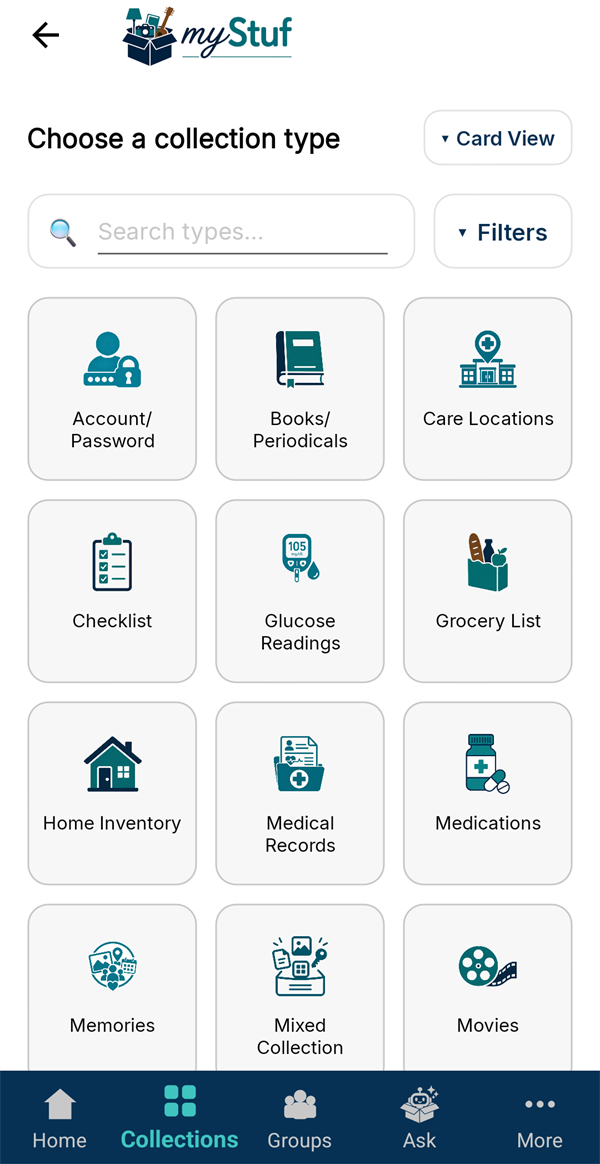
Go to Collections → + New Collection and tap Home Inventory. Make one for each property you want to track, like a house, a rental or a cabin.
-
Describe the property
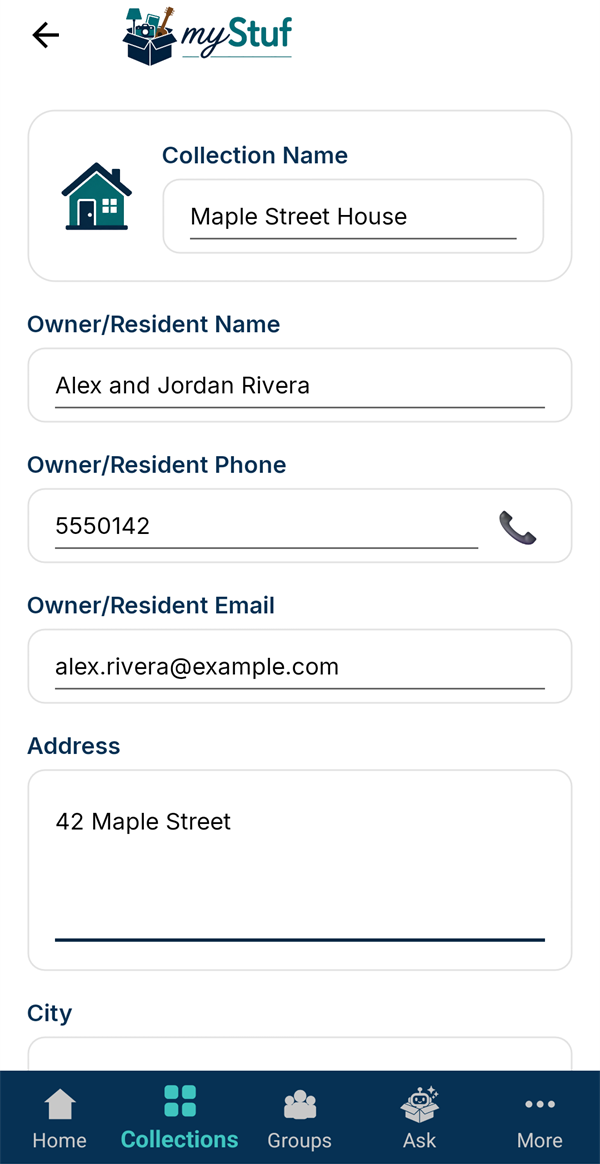
Give it a name, like Maple Street House. Everything else is optional: owner, phone, address, property type and more. Scroll down and tap Save Changes.
-
Your rooms are ready
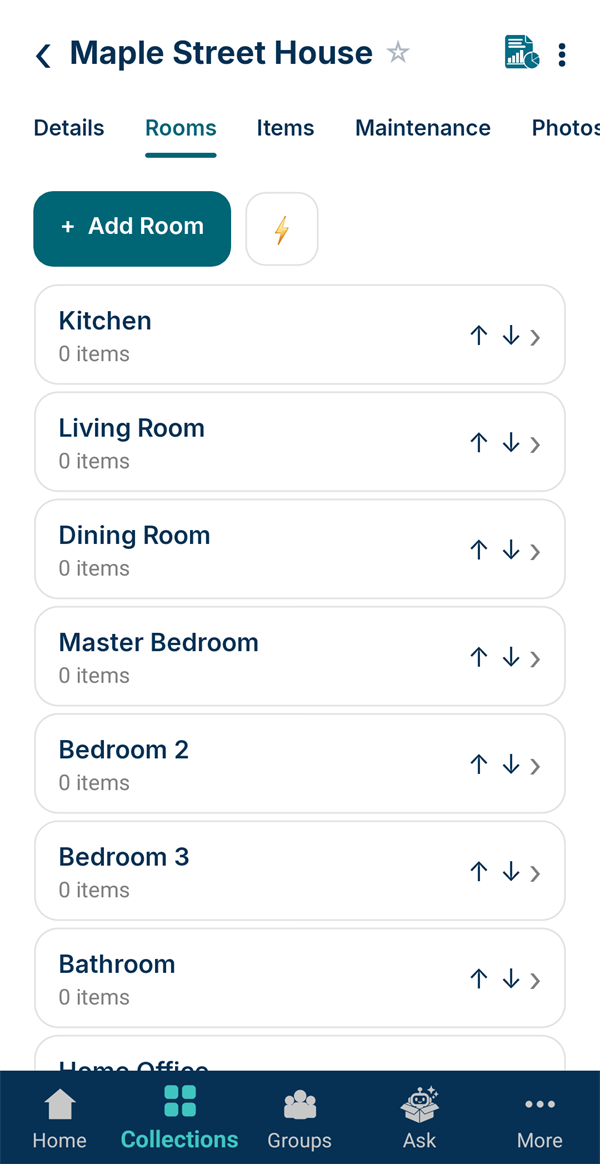
The property opens with tabs for Details, Rooms, Items, Maintenance and Photos. On Rooms, the usual rooms are already there. Tap + Add Room for more, or use the arrows to reorder them.
-
Add an item to a room
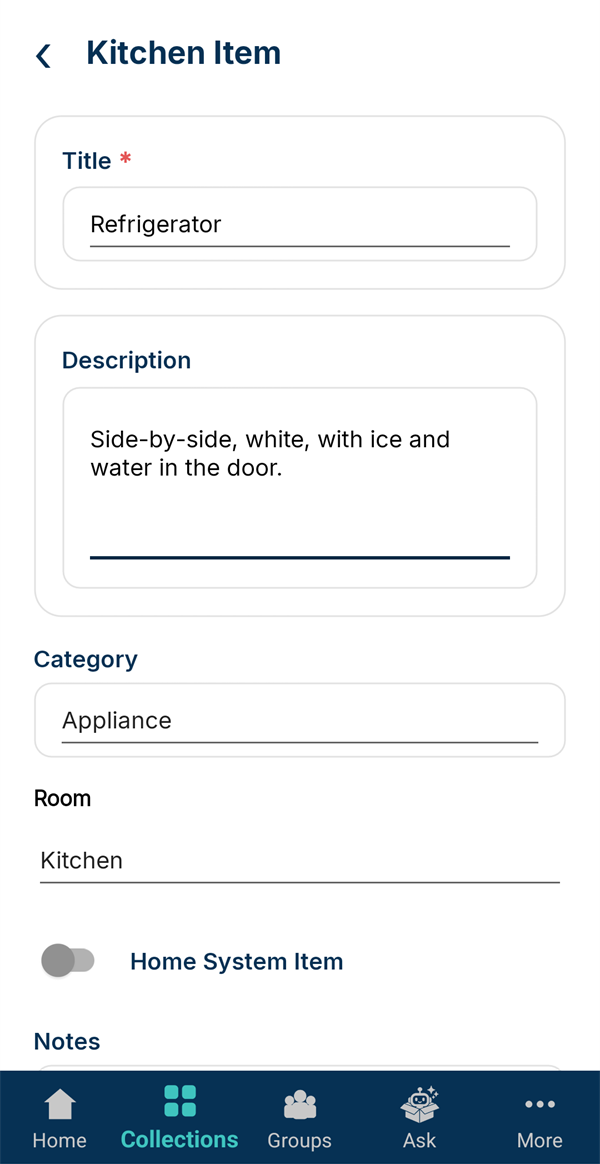
Open the Items tab and tap + Item beside a room, say Kitchen. Give it a title and description and pick a Category such as Appliance or Electronics. The Room is already filled in.
-
Record what insurers ask for
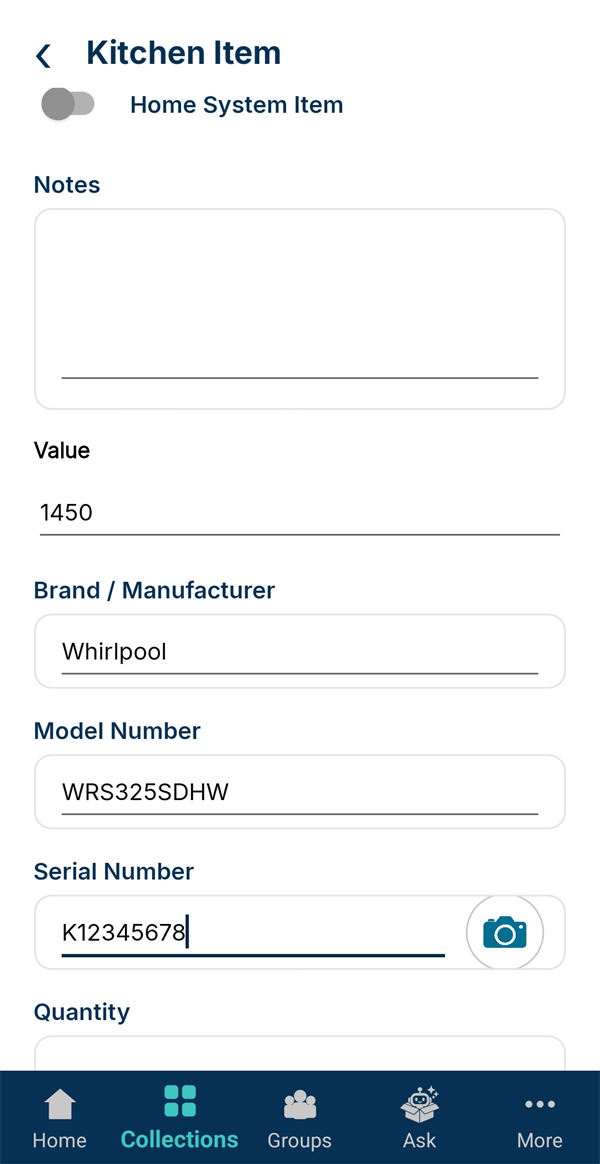
Scroll down to fill in the Value, Brand / Manufacturer, Model Number and Serial Number. Further down are Purchase Price, Acquired Date and Warranty Expiration.
Tap the camera icon beside Serial Number to read it straight off the label.
-
Add a photo
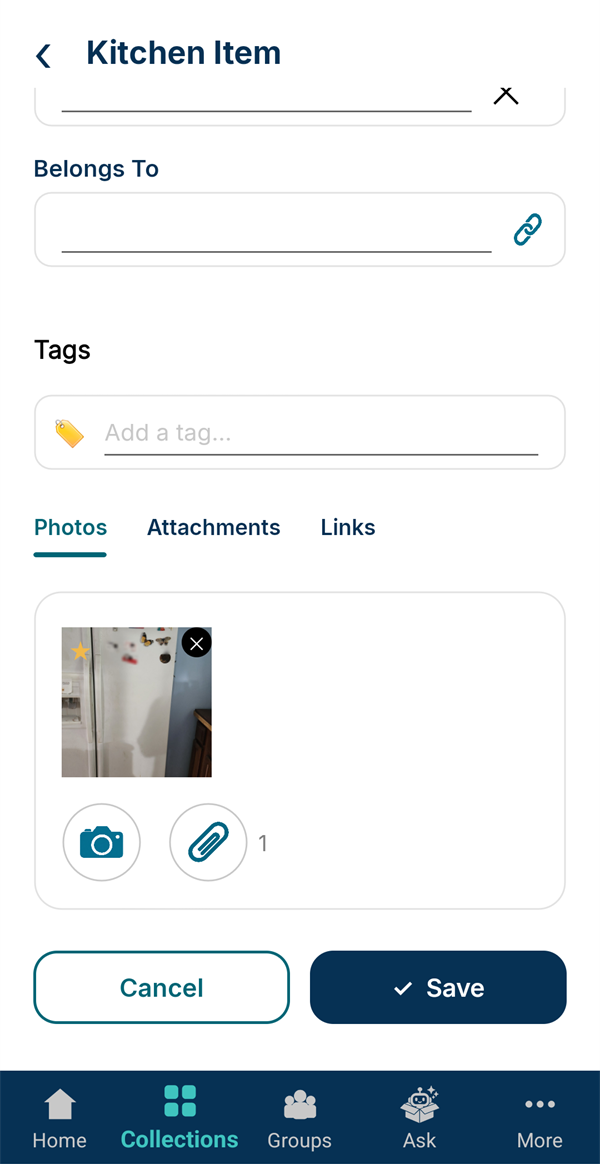
At the bottom, under Photos, tap the camera to take a picture or the paperclip to pick one you already have. Add a few: the whole item, the model label, the receipt. Under Attachments you can keep the manual or a warranty PDF. Tap Save.
-
Work through the house
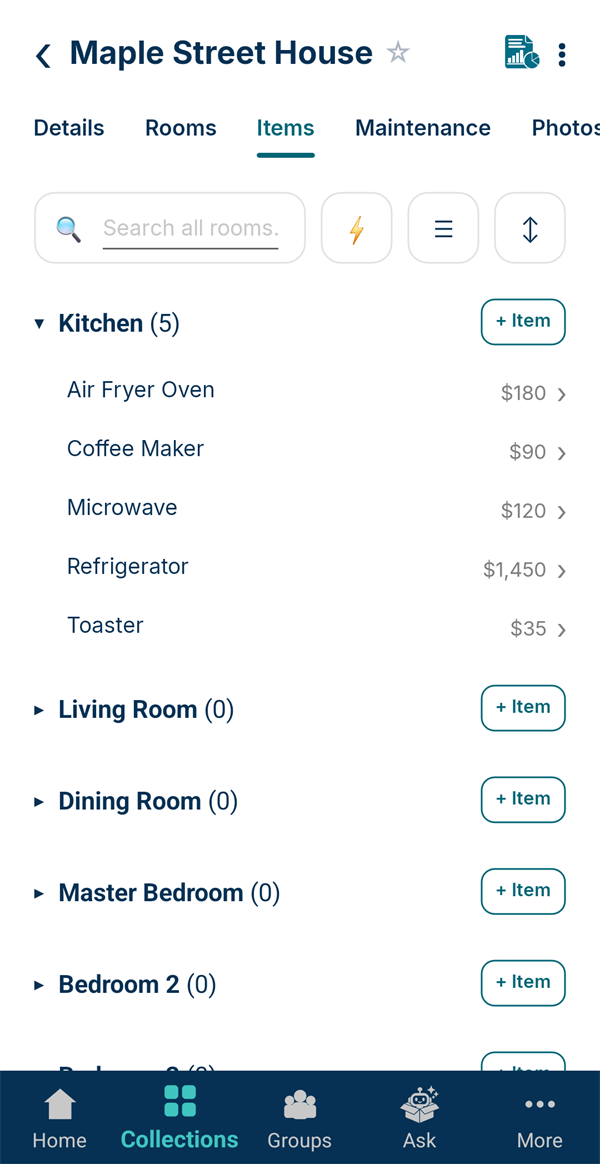
Repeat for the rest of the room. The Items tab groups everything by room, with a count and each item's value. Tap a room's name to fold it away.
Lots to add? The ⚡ button is Rapid Add: one field at a time, built for going round a room quickly.
-
Build the inventory report
Tap the report icon at the top right of the property. Choose whether to Include item photos and property photos, and which rooms to include.
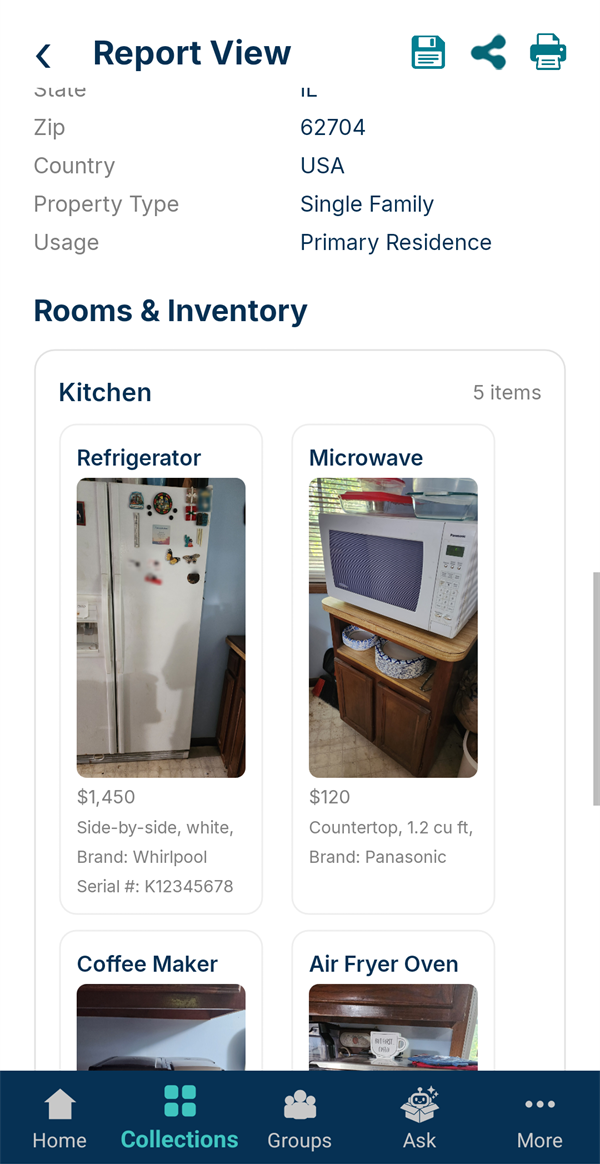
The report builds right below as photo cards with values, brands and serial numbers. Use the icons at the top to save it as a PDF, share it or print it.
-
Check the totals
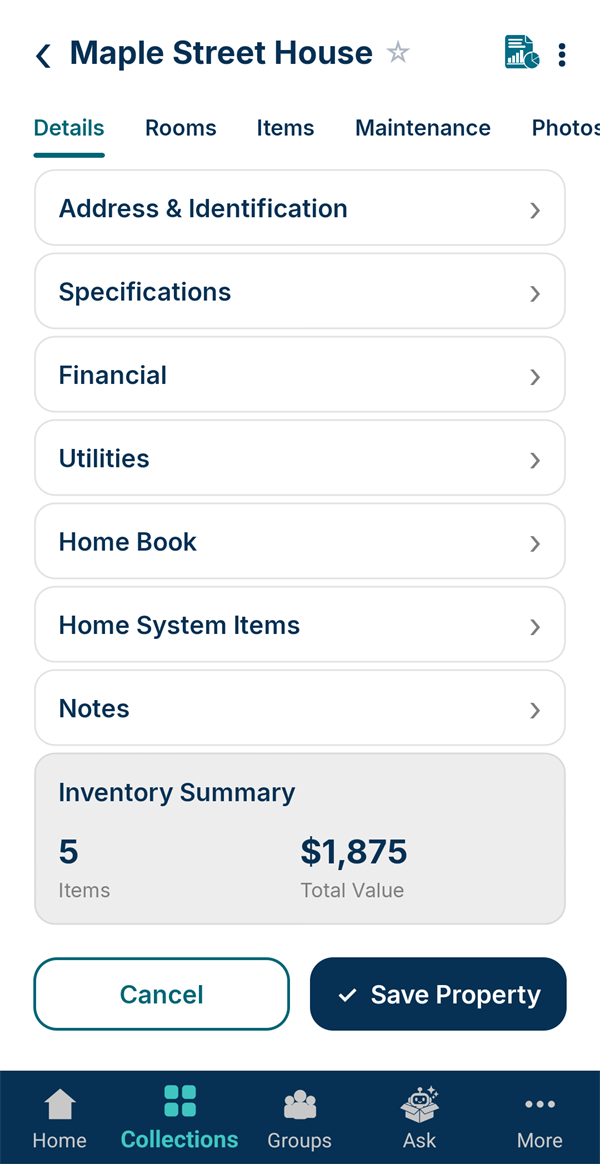
Back on the property's Details tab, Inventory Summary shows how many items you've recorded and their total value. The other sections hold the house itself: address, specifications, financial details, utilities and a Home Book for house sitters.